You’ve probably heard how peanut clusters are the ultimate crowd-pleaser for holidays or quick treats, but where do you start? Crafting the perfect peanut clusters recipe can feel overwhelming with so many options out there. As a home cook, I’ve learned that a simple, reliable recipe makes all the difference for stress-free, delicious results. At Aura, we’re passionate about sharing easy, no-bake desserts that spark joy and save time. In this guide, you’ll discover a foolproof 3-ingredient peanut clusters recipe, plus tips to customize, store, and gift these sweet-salty gems. Whether you’re a beginner or a seasoned pro, we’ve got you covered with practical advice and inspiring ideas. Let’s dive in and whip up some homemade candy gifts that’ll wow everyone!
Why You’ll Love This Peanut Clusters Recipe
This peanut clusters recipe is a winner for a bunch of reasons. First, it comes together in under 30 minutes, making it perfect when you want a quick sweet fix without spending hours in the kitchen. You only need 3 to 4 common ingredients—peanuts, chocolate, coconut oil, and a pinch of salt—so no hunting for anything fancy. These chocolate peanut clusters are ideal for holiday gifting, cookie exchanges, or just satisfying those sweet and salty cravings anytime.
Plus, it’s super customizable. You can swap the peanuts for other nuts or try different types of chocolate to mix things up. Best part? It’s a no-bake recipe, so no oven or special gadgets needed—just melt, mix, chill, and enjoy!
Ingredients for Peanut Clusters
To make easy peanut clusters, you only need a few simple ingredients. The basics are roasted peanuts, quality chocolate, and a bit of coconut oil. Here’s why each one matters:
- Roasted Peanuts: These give your clusters that classic crunch and salty balance against the sweet chocolate. You can grab salted or unsalted peanuts depending on your taste.
- Chocolate: Use semi-sweet or dark chocolate for a rich flavor that’s not overly sweet. Milk chocolate works too if you prefer milder, creamier clusters.
- Coconut Oil: This helps melt the chocolate smoothly and gives the clusters a nice glossy finish once set.
Suggested Substitutions
- Swap peanuts for almonds, cashews, or mixed nuts if you want a different nutty flavor.
- If you’re avoiding coconut or want a neutral option, vegetable oil or butter can work in place of coconut oil.
- For dairy-free or vegan versions, use dairy-free chocolate brands.
Sourcing Tips
- You can find all these ingredients at most grocery stores like Walmart, Target, or local supermarkets around the US.
- For higher quality chocolate or specialty nuts, online shops like Amazon, Nuts.com, or local health food stores are great options.
- Buying in bulk at warehouse stores (Costco, Sam’s Club) can save money, especially around the holidays when making batches for gifts.
Keeping ingredients simple and accessible makes this peanut clusters recipe perfect for quick homemade candy anytime.
Step-by-Step Instructions for Peanut Clusters Recipe
Start by clearing a clean workspace—lay down parchment paper or a silicone baking mat on a baking sheet. This makes cleanup super easy and prevents sticking.
Next, melt your chocolate and coconut oil together. I like using a microwave-safe bowl and heating in 30-second bursts, stirring between each, or you can do it over a double boiler on the stove. The coconut oil thins the chocolate, helping it coat the peanuts better and gives a nice glossy finish.
Once melted, stir in the peanuts until every nut is fully covered with chocolate. Mix well but gently so the peanuts stay whole.
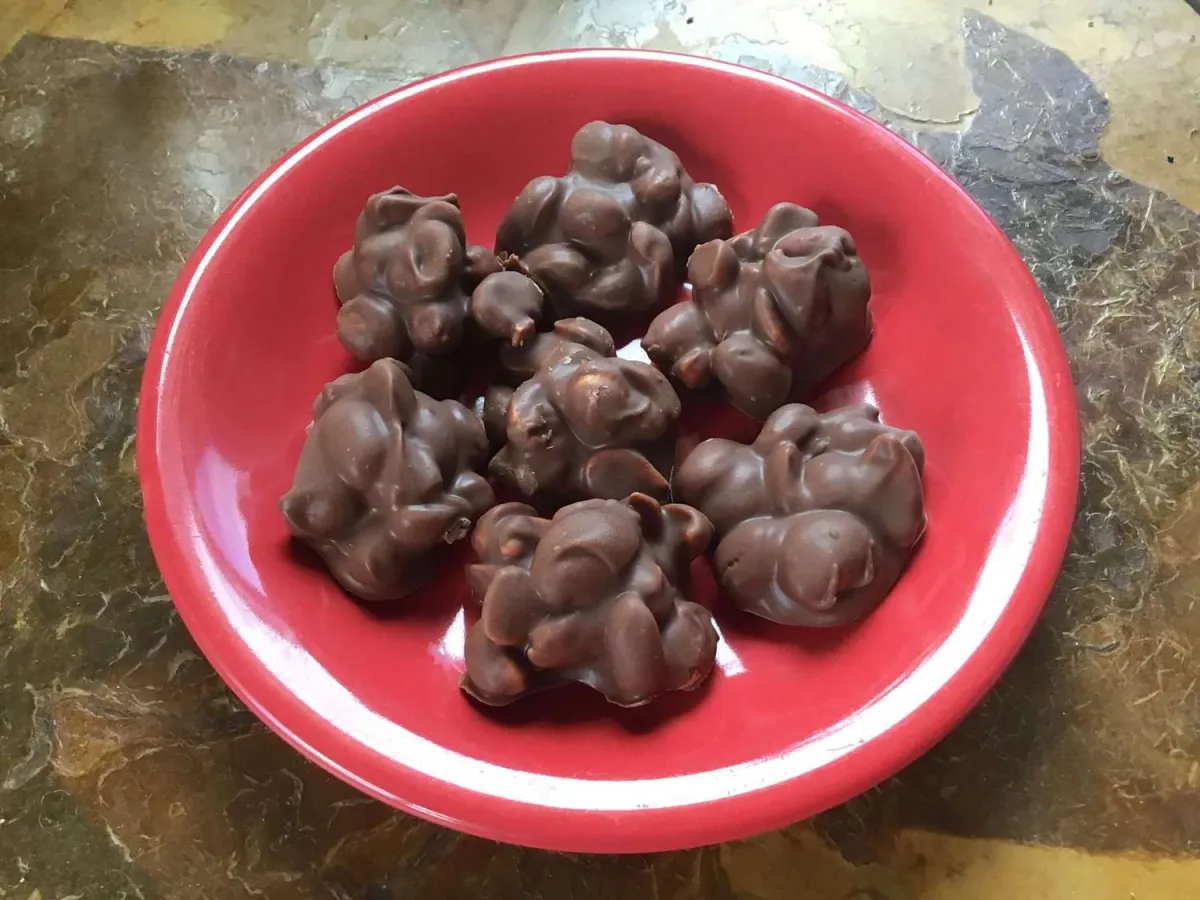
Use a cookie scoop or tablespoon to drop even-sized clusters onto the prepared baking sheet. This keeps them uniform, so they set nicely and look professional—great if you’re gifting.
Place the tray in the fridge and chill for at least 20-30 minutes until the clusters are firm to the touch.
After they’ve set, store the peanut clusters in an airtight container. If you’re gifting, wrap them in small clear bags or a decorative tin to keep them fresh and presentable.
Tips to avoid common mistakes
- Don’t overheat the chocolate—heat slowly and stir often to prevent burning or seizing.
- Make sure the peanuts are dry; any moisture can cause the chocolate to seize.
- Use a cookie scoop for consistent sizes, so clusters chill evenly.
- If you want a firmer texture, add a little less coconut oil.
- Chill the clusters fully before handling to avoid smudges or fingerprints.
This easy, no-bake dessert comes together fast with simple steps and basic tools you probably already have at home.
Variations and Customizations
Peanut clusters are super easy to tweak to your taste, so feel free to get creative. Here are some simple ways to customize:
-
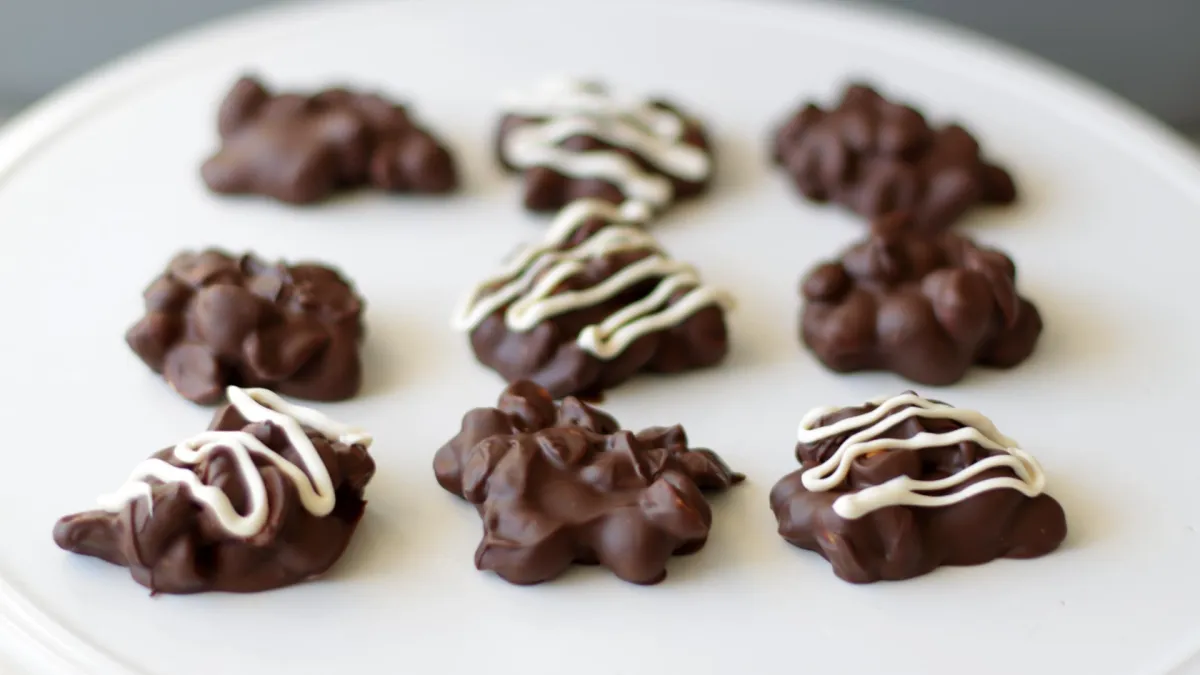
Add-ins: Drizzle melted white chocolate on top for a pretty contrast. Sprinkle sea salt for that perfect sweet-and-salty combo. Toss in dried fruits like cranberries or raisins for a chewy burst.
-
Nut swaps: Don’t have peanuts or prefer something else? Almonds, cashews, or pecans work just as well. Mix different nuts for extra crunch and flavor.
-
Flavor twists: Add a pinch of cinnamon or chili powder for a subtle kick. Vanilla extract or a splash of bourbon can add depth to the chocolate coating.
-
Dietary options: Use dairy-free or vegan chocolate to keep these clusters allergy-friendly. Swap regular peanuts with roasted soy nuts or sunflower seeds for nut-free versions.
These easy swaps let you match peanut clusters to the occasion or your pantry, keeping this holiday candy recipe fresh and exciting every time.
Storage and Gifting Tips
Peanut clusters are pretty flexible when it comes to storage. You can keep them at room temperature in an airtight container for up to two weeks. Just make sure they’re in a cool, dry place away from direct sunlight to prevent the chocolate from melting or blooming. If it’s warmer in your home, refrigerate them to keep their shape and freshness for about three weeks.
For longer storage, you can freeze peanut clusters. Place them in a freezer-safe container or zip-top bag, separated by parchment paper to avoid sticking. They’ll last up to three months frozen. When you’re ready to enjoy, just thaw them in the fridge or at room temperature for a few hours.
If you’re gifting homemade candy gifts, presentation matters. Try these packaging ideas:
- Use small boxes or tins lined with wax paper.
- Clear cellophane bags tied with ribbon look festive and let the chocolate show through.
- Attach a simple tag with the date and a short note.
These options keep peanut clusters fresh and make your sweet treats look special for cookie exchanges, holiday parties, or just thoughtful homemade gifts.
Pro Tips for Perfect Peanut Clusters

-
Use high-quality chocolate
Choose good-quality chocolate that melts smoothly and tastes great. It makes a big difference in flavor and texture for your peanut clusters. -
Temper chocolate for a glossy finish
Tempering helps the chocolate set shiny and firm without streaks or bloom. If you want that glossy professional look, it’s worth the extra step. -
Use a cookie scoop for uniform clusters
A small cookie scoop or spoon helps keep your peanut clusters even in size. This not only looks better but ensures they all set and chill evenly. -
Avoid scorching the chocolate
Melt chocolate slowly over low heat or use a double boiler. High heat can burn chocolate and ruin the texture. Stir frequently for smooth melting.
These tips will make your chocolate peanut clusters look and taste like they came from a candy shop.
Why Peanut Clusters Are a Holiday Staple
Peanut clusters have become a classic holiday treat across many American homes, and for good reason. Their mix of sweet and salty hits all the right notes during festive seasons when everyone’s craving something simple but satisfying. Culturally, they tie into the tradition of homemade candies and treats passed down through generations, often made in big batches to share with family and friends.
Personally, I’ve always loved peanut clusters for how easy they are to whip up last minute, whether it’s a holiday party or a potluck. They’re that go-to dessert when you want something homemade without spending hours in the kitchen. Plus, they work perfectly for quick desserts anytime—you can make a batch, chill them, and have a sweet snack ready if guests drop by unexpectedly.
Their versatility shines too. You can dress them up with different nuts or add a sprinkle of sea salt to match your crowd’s tastes. Peanut clusters fit right in on cookie exchange tables, holiday gift baskets, or even just a snack tray during game day. They’re simple, tasty, and everyone loves them—which is why they keep coming back every year.
Frequently Asked Questions
Can I use different nuts in peanut clusters?
Absolutely. Feel free to swap peanuts with almonds, cashews, pecans, or mixed nuts. Just keep the quantity similar so the chocolate coats them well.
How do I prevent chocolate from seizing?
Chocolate seizes when a small amount of water comes in contact with it. To avoid this, keep all utensils dry, melt chocolate slowly over low heat or in short bursts in the microwave, and never add water or steam near your melting bowl.
Can I make peanut clusters in a crockpot?
Yes, you can melt chocolate slowly in a crockpot on low heat. Stir frequently to prevent burning. Once melted, mix in the nuts and scoop out quickly before the chocolate hardens.
Are peanut clusters gluten-free?
Most peanut cluster recipes are naturally gluten-free since they only contain chocolate and nuts. Just double-check that your chocolate and any add-ins don’t have gluten-containing ingredients.
How long do peanut clusters last?
Stored in an airtight container, peanut clusters last up to 2 weeks at room temperature and about a month refrigerated. For longer storage, freeze them for up to 3 months—just thaw before serving.