Choosing the Right Plums for Jelly Making
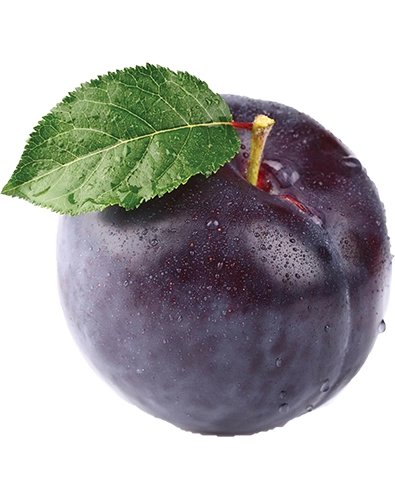
When making homemade plum jelly, picking the right plums is key to getting great flavor and the perfect jelly setting. Look for ripe, juicy plums that are slightly soft to the touch but not overripe or mushy. Fresh, firm plums have the best balance of natural pectin and sweetness, both important for jelly making.
For a more tart and tangy jelly, you can use a mix of sweet and slightly underripe plums. Avoid bruised or damaged fruit, as they can affect the taste and clarity of your plum preserves. If you’re going for a wild plum jelly, make sure to properly clean and inspect the plums to remove stems and any debris.
Using fresh, high-quality plums helps get the most out of the plum juice extraction process and ensures your plum jelly turns out flavorful and well-set every time.
Preparing Plums for Jelly Extraction

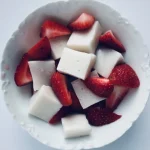
Once you’ve picked the right plums, it’s time to get them ready for juice extraction. Start by rinsing the plums thoroughly under cold water to remove any dirt or residue. After washing, remove the stems and cut each plum in half. You don’t need to peel or pit them for plum jelly; the skins and pits help release natural pectin and flavor during cooking.
If you’re making a homemade plum jelly or wild plum jelly, make sure to discard any bruised or overly soft spots to keep the jelly fresh. Place the halved plums in a large pot, ready for cooking. Preparing your plums this way helps maximize plum juice extraction, giving you the best base for your plum preserves or plum jam.
Cooking the Plums to Extract Juice
Once your plums are prepped, it’s time to cook them to get that rich plum juice needed for your jelly. Place the chopped plums in a large pot and add a little water—just enough to prevent burning, about half a cup for every 4 cups of fruit. Heat the mixture over medium heat until it starts to simmer.
Let it cook gently for about 20 to 30 minutes, stirring occasionally. The plums will break down and release their juice as they soften. Avoid boiling too hard, as this can affect the flavor and color of your plum jelly.
After cooking, the fruit will be soft and juicy, perfect for the next step where you’ll strain the juice. This process works well for making homemade plum jelly or even wild plum jelly, giving you fresh, flavorful juice right from your fresh plums.
Straining the Juice and Preparing the Jelly Mix
After cooking your plums to extract the juice, the next step is straining. Using a fine mesh strainer or cheesecloth, carefully pour the cooked plum mixture to separate the juice from the skins and seeds. Let it drain naturally—don’t squeeze or press, as this can make the juice cloudy. Clear juice is key for a clean, smooth homemade plum jelly.
Once you have your strained plum juice, measure it accurately. This helps ensure the jelly sets properly when mixed with sugar and pectin. Pour the juice into a large pot, and now you’re ready to prepare your jelly mix by adding sugar and pectin according to your plum jelly recipe.
Whether you’re making classic plum jelly or a wild plum jelly variation, keep your measurements precise for the best results. This step sets the stage for that perfect consistency you want in your plum preserves or plum jam.
Adding Pectin and Sugar for Jelly Setting
Once you have your fresh plum juice ready, it’s time to add pectin and sugar to get that perfect jelly consistency. Pectin is the natural ingredient that helps your plum jelly set and turn firm. If you’re using store-bought pectin, follow the package instructions carefully — usually, you add it to the boiling juice before stirring in the sugar.
For homemade plum jelly without pectin, you’ll need to rely on the natural pectin in the fruit and more cooking time, but this can be tricky to get just right.
Sugar not only sweetens your jelly but also works with the pectin to create the right texture. Use the right amount (usually equal parts sugar to juice) for a classic plum jelly taste and setting. For those looking for an easy plum jelly recipe, some versions use less sugar, but this might make the jelly softer or affect shelf life.
Tips for Adding Pectin and Sugar:
- Add pectin to hot juice and stir quickly to avoid clumping.
- Gradually stir in sugar, mixing well until fully dissolved.
- Use fresh or commercial pectin designed for jelly for reliable results.
- Adjust sugar based on your sweetness preference but don’t skip it entirely.
Using the right pectin and sugar combo makes all the difference when making plum jelly from fresh plums. It’s key to turning your plum juice extraction into a spreadable homemade plum jelly you’ll love.
Boiling and Testing Jelly for Proper Consistency
Once you’ve added pectin and sugar to your plum juice, it’s time to bring the mixture to a rolling boil. Keep the heat high and stir constantly to avoid burning. Boil for about 1 to 2 minutes, or follow the timing on your pectin package if using commercial pectin.
To test if your homemade plum jelly is set, use one of these simple methods:
- Plate test: Drop a small spoonful of hot jelly onto a chilled plate. Let it sit for a minute, then push it gently with your finger. If it wrinkles and holds its shape, it’s ready. If it’s still runny, boil for another minute and test again.
- Sheet test: Dip a spoon into the boiling jelly, let it drip, and check if it forms a thick sheet rather than runny drops.
For a plum jelly without pectin, boiling longer helps the natural pectin and sugar reach the right consistency. Be patient—slow, steady boiling is key.
Remember, jelly will firm up more as it cools, so avoid overcooking. Proper jelly setting ensures your plum preserves will slice cleanly and spread easily, making your plum jelly canning a success every time.
Canning and Storing Homemade Plum Jelly

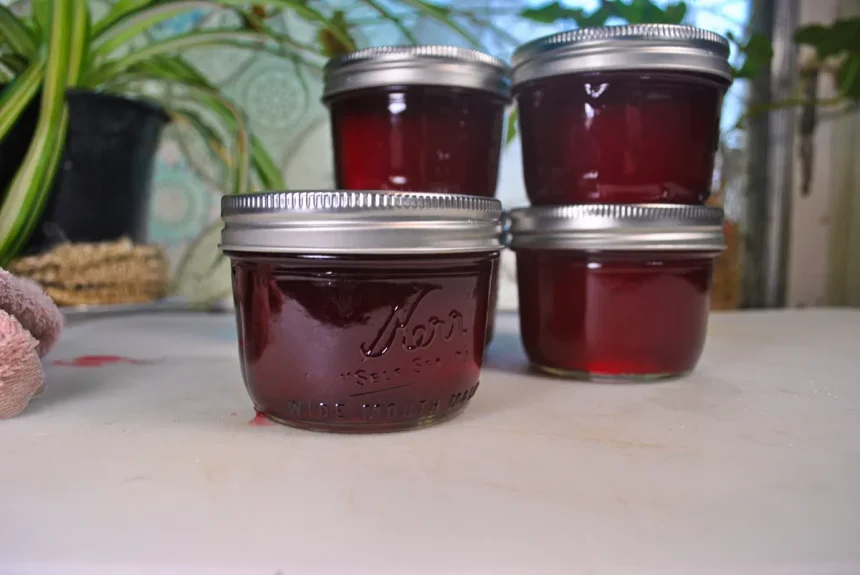
Once your plum jelly is ready, canning it properly is key to keeping it fresh and safe for months. Start by sterilizing your jars and lids—boil them in water for 10 minutes or run them through a hot dishwasher cycle. Pour the hot jelly into the warm jars, leaving about ¼ inch of headspace at the top. Wipe the rims clean to ensure a good seal, then place the lids on and screw the bands until fingertip tight.
Process the jars in a boiling water bath for 5 to 10 minutes, depending on your altitude, to kill any bacteria and seal the jars properly. After processing, remove the jars and let them cool on a towel without disturbing them. You’ll hear the satisfying pop as they seal. Once cool, check the seals by pressing the center of each lid—it should not flex up and down.
Label your jars with the date and store them in a cool, dark place like a pantry or cupboard. Properly canned homemade plum jelly can last up to a year. Once opened, keep it refrigerated and use within a month. Canning your plum jelly not only preserves that fresh plum flavor but also saves you from the hassle of sugar or preservatives often found in store-bought options.
If you’re looking for more preserving methods, you might also enjoy learning about herbal cordial recipes to complement your homemade plum jelly in your pantry.
Tips and Tricks for Perfect Plum Jelly Every Time
Making homemade plum jelly can be simple and rewarding. Here are some practical tips to ensure your plum jelly turns out great every time:
- Choose ripe but firm plums: Overripe fruit can give a cloudy jelly or affect the setting.
- Use a reliable pectin: Whether you’re using commercial pectin or making plum jelly without pectin, check the package instructions carefully for best results.
- Don’t rush the boiling step: Boiling the jelly mix at a rolling boil helps the jelly set properly. Use a candy thermometer or the cold plate test to check the consistency.
- Don’t skip the straining: Clear plum juice will give your jelly a beautiful look and smooth texture.
- Adjust sugar based on your taste and pectin type: Some recipes require exact sugar amounts for setting, but you can tweak slightly for less sweetness.
- Sterilize your jars and lids thoroughly: This prevents spoilage and extends shelf life for your plum jelly canning.
- Cool jars upside down for a better seal: This helps avoid air bubbles under the lid.
- Label your jars with date and type: Homemade plum jelly is best used within a year.
For a straightforward approach, look into easy plum jelly recipes and two-ingredient plum jam options if you want less fuss. You can also explore ways to make plum jelly from fresh plums if you’re working with local fruit.
For anyone interested in preserving fruit beyond plum jelly, you might also enjoy this easy chicken fried rice recipe as a quick homemade meal option.
Following these tips ensures you get clear, perfectly set plum jelly with rich flavor every time you make it.
Common Problems and How to Fix Them
Making homemade plum jelly can sometimes come with a few hiccups. Here are common issues and simple fixes to get your plum jelly just right.
Jelly Didn’t Set Properly
- Cause: Not enough pectin or sugar, or the jelly wasn’t boiled long enough.
- Fix: Re-boil the jelly and add a bit more pectin or sugar, then test the set again. Using store-bought pectin helps avoid this issue, but wild plum jelly might need extra attention since natural pectin varies.
Jelly is Too Runny
- Cause: Under-cooked or too much juice used without thickening.
- Fix: Simmer the jelly longer to reduce excess liquid or add a bit more pectin next time.
Jelly is Too Firm or Hard
- Cause: Overcooked or too much pectin or sugar added.
- Fix: Try stirring in a little hot water to loosen it or use less pectin in your next batch.
Cloudy or Dark Jelly
- Cause: Plum juice not strained properly or cooking at very high heat.
- Fix: Strain juice carefully and cook on medium heat to keep jelly clear and bright.
Mold or Spoilage After Canning
- Cause: Improper sterilization of jars or seals not tight enough.
- Fix: Always sterilize jars and lids before canning. Make sure lids seal properly by checking for the “pop” sound as jars cool.
Sugar Crystallization on Surface
- Cause: Sugar not fully dissolved or jelly cooled too quickly.
- Fix: Stir jelly gently while cooking to fully dissolve sugar, and let jars cool at room temperature.
Keeping these tips in mind will help you master making plum jelly from fresh plums and enjoy the sweet taste of homemade plum preserves all year long.